
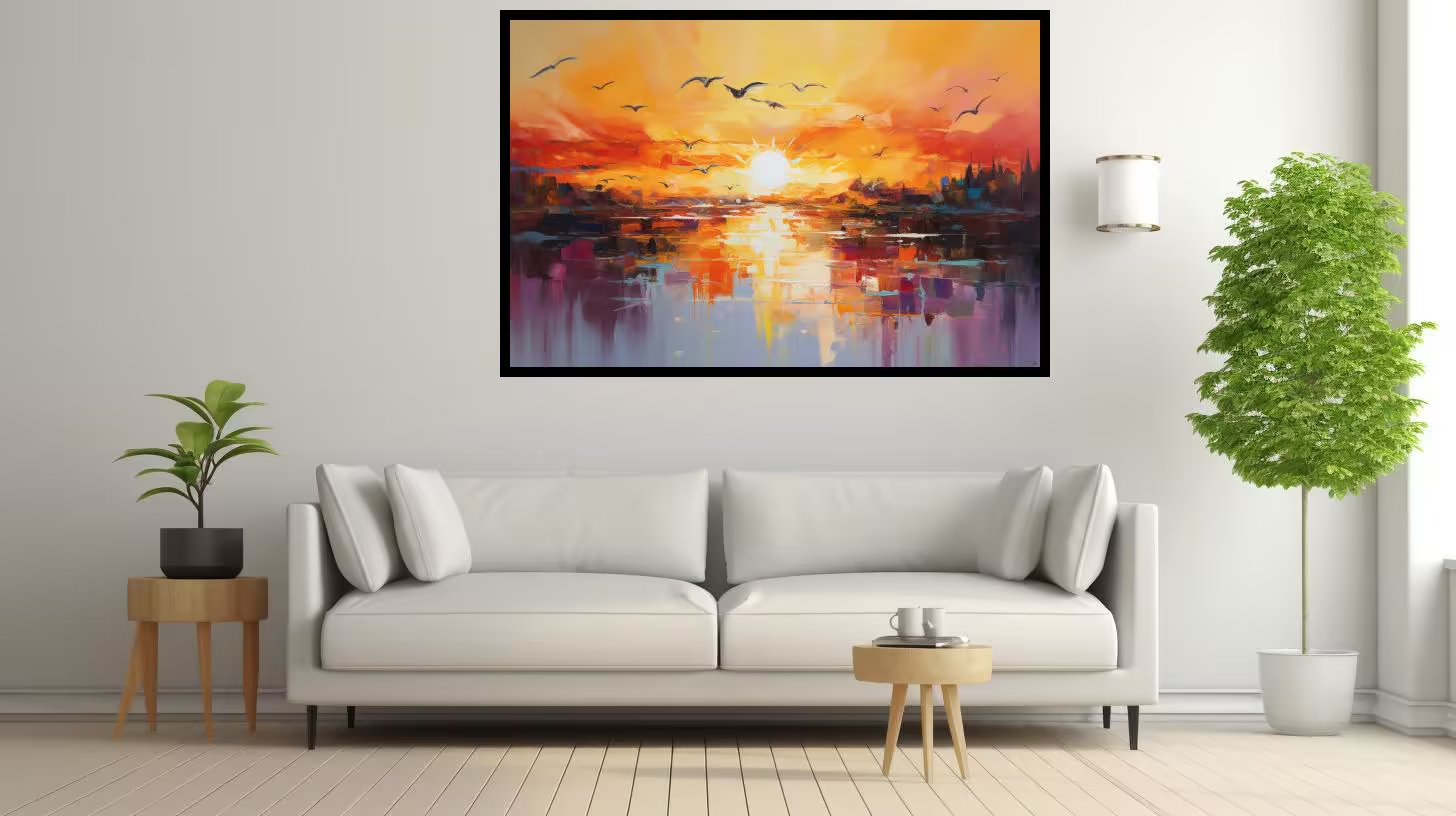
Creating a Stunning Gallery Wall with Canvas Prints
Introduction:
A gallery wall adorned with canvas prints is a wonderful way to showcase your cherished memories, add personality to your space, and create a stunning visual display. Whether you’re a seasoned art collector or a beginner looking to curate your own gallery wall, this article will guide you through the steps of creating a captivating and personalized arrangement with canvas prints.
Step 1: Choose a Theme or Concept
To create a cohesive gallery wall, start by deciding on a theme or concept. It could revolve around a specific color palette, a favorite travel destination, a collection of family portraits, or a combination of various artistic styles. Having a central theme will help you make informed decisions when selecting and arranging your canvas prints.
Step 2: Select Canvas Prints
Once you have a theme in mind, it’s time to select the canvas prints that will grace your gallery wall. Consider the size, style, and subject matter of the prints. Mix and match different sizes to create visual interest, and opt for a variety of subjects to add depth and texture. Whether you choose photographs, artwork, or a combination, ensure that each piece resonates with the overall theme.
Step 3: Plan the Layout
Before hanging your canvas prints, plan the layout of your gallery wall. Start by measuring the available wall space and considering the furniture or architectural elements nearby. Lay out the prints on the floor or create a digital representation using online tools to experiment with different arrangements. Aim for a balanced composition, taking into account spacing, symmetry, and focal points.
Step 4: Frame or Frameless?
Decide whether you want to frame your canvas prints or leave them frameless. Framing can add a polished and sophisticated look, while frameless prints offer a more contemporary and streamlined appearance. Choose frames that complement the style and colors of the prints and the overall aesthetic of your space. Alternatively, opt for frameless canvas prints to create a modern and minimalist gallery wall.
Step 5: Hang with Precision
Once you have finalized the layout and framed your canvas prints (if desired), it’s time to hang them with precision. Start by using a level and measuring tape to ensure accurate placement. Use picture-hanging hooks or adhesive strips designed for canvas prints to securely mount them on the wall. Consider using a laser level or creating a paper template to guide the placement of each piece before making any holes.
Step 6: Experiment with Arrangement
Don’t be afraid to experiment and adjust the arrangement of your canvas prints as you go. Step back and observe the overall composition, making tweaks if necessary. You may find that certain pieces look better when shifted or that additional prints are needed to achieve the desired effect. Remember, creating a stunning gallery wall is a process of trial and error, and it’s all about finding the right balance.
Step 7: Add Complementary Elements
To enhance the visual impact of your gallery wall, consider adding complementary elements. Integrate decorative items such as mirrors, wall sconces, or floating shelves to break up the display and create additional focal points. Incorporate accent lighting to highlight specific prints or to create a cozy ambiance. Play with textures and dimensions by including sculptural pieces or plants to bring the wall to life.
Conclusion:
Creating a stunning gallery wall with canvas prints allows you to showcase your personal style and create a captivating visual narrative. By carefully selecting prints, planning the layout, and paying attention to details like framing and arrangement, you can curate a gallery wall that adds character and charm to any space. So, unleash your creativity, follow these steps, and watch as your gallery wall becomes a stunning centerpiece that tells your unique story.